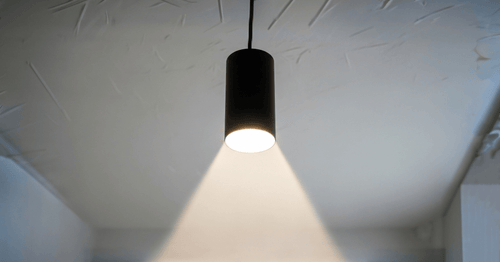
What is beam angle?
Learn the simple difference between a narrow spot and a wide floodlight.
Connecting a lamp is one of the most common jobs in the house. With the right steps and a rock-solid focus on safety, this is a job you can definitely do yourself. We'll guide you through it, step-by-step.
Before you even touch a screwdriver, this is the most important thing. Working with electricity is not a game. Follow these two steps without exception.
Go to your consumer unit (fuse box) and find the correct circuit breaker that controls the power to the room you'll be working in. Flip the switch to turn it off. If you're not sure which one it is, take no risks and turn off the main switch. That way you're guaranteed to be safe.
Don't just assume you've flipped the right switch. Always check. Flick the light switch in the room on and off; the old lamp (if still there) or any other light on that circuit should not turn on. Next, use a voltage tester to touch the wires in the ceiling box. The light in your tester must not light up. Only when you are 100% certain the power is off can you proceed.
In most of Europe, we use standard colours for electrical wires. If you know what each colour means, connecting them becomes a lot more logical. You will typically see three or four of these wires:
Okay, the power is off, and you understand the wires. Time to get started!
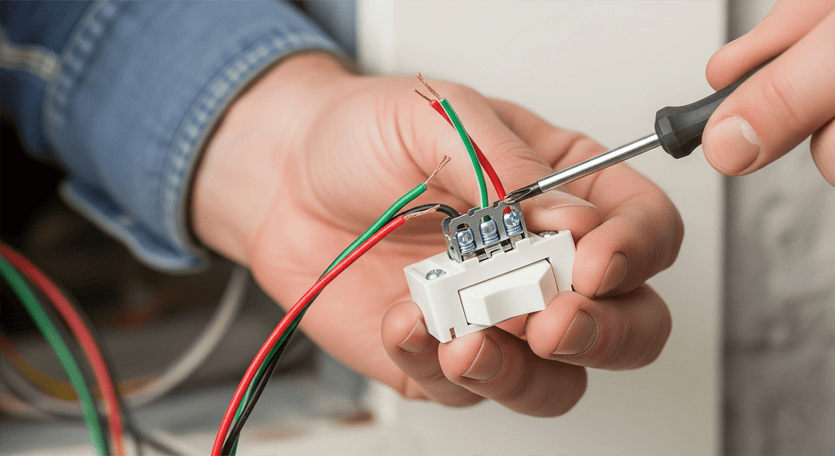
If the copper core of the wires isn't visible, use a wire stripper to remove about 0.5 cm of the plastic insulation. Be careful not to cut into the copper itself.
Use a terminal block or (even easier) WAGO-style connectors to connect the wires from the ceiling to the wires of your new lamp. The connection is almost always as follows:
What do I do with the brown wire from the ceiling?
In most cases, you won't need the brown live wire in the ceiling box. It is often there to loop power through to the next point in the circuit. Make sure it is safely capped off with a connector or terminal block so it cannot make contact with anything. Never touch it without confirming the power is off!
Neatly tuck the wires into the ceiling box and mount the bracket of your lamp to the ceiling. Then, attach the lamp to the bracket and secure it.
Screw a bulb into the lamp, go back to the fuse box, and turn the power back on. Walk back to the room, flip the switch, and... light! Congratulations, you've done it.

See? With the right preparation and a constant focus on safety, connecting a lamp is a job you can do yourself. The most important lesson is and always will be: always turn off the power and double-check it before you begin.
Now it's time to enjoy your beautifully lit room. If you still have questions or are looking for the perfect lamp for your next project, the experts at Fixerio are always ready to help.
Learn the simple difference between a narrow spot and a wide floodlight.
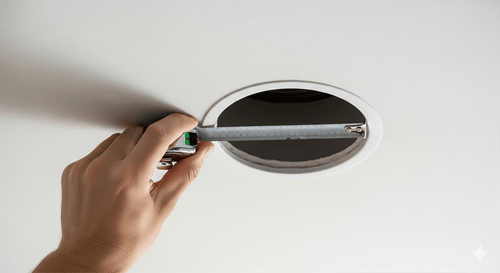
Our simple guide shows you how to find the right cutout size, use the right tools, and what to do if you make a mistake.
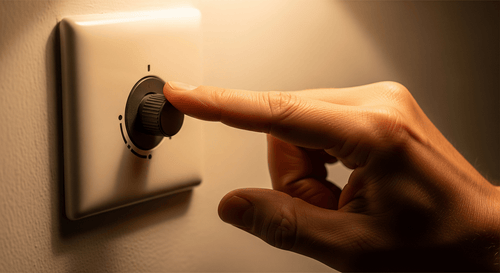
We explain the simple difference between leading and trailing edge dimmers and help you choose the right one.