Batten
Battens are modern, slim linear LED fixtures that replace traditional fluorescent tubes. Unlike a separate fluorescent tube with fixture, a batten forms a single integrated unit. This makes them a popular choice for those seeking a practical, energy-efficient, and low-maintenance lighting solution in various environments, from commercial buildings to workshops and garages. With the phase-out of traditional fluorescent tubes, LED battens have become the standard for sustainable lighting installations.
-
Unavailable
 Spectrum-18W-2100lm-3000K9,95
 -
Unavailable
 Spectrum
LED 120cm
-32W-4000lm-3000K14,95 -
Unavailable
 Modee
ModeeLED 150cm
-50W-6000lm-4000K19,95 -
Unavailable
 Braytron
LED PROLINE 117.5 cm
-35W-3600 lm-6500K14,95 -
Unavailable
 Braytron
LED PROLINE 57.5 cm
-18W-1800 lm-4000K7,95 -
Unavailable
 Spectrum
LED
0,79 -
Unavailable
 Aigostar
LED 120cm
-40W-4000K12,95 -
Unavailable
 Spectrum
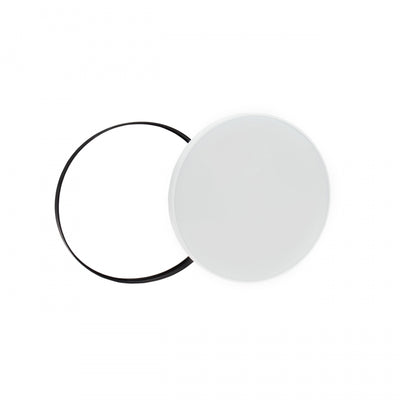
LED Nymphea Black & White 38 cm
-32W-3450 lm-6000K29,95 -
Unavailable
 Spectrum
LED Nymphea City Pro 2 32 cm
-18/24W-3500 lm-CCT 6000K44,95 -
Unavailable
 Spectrum
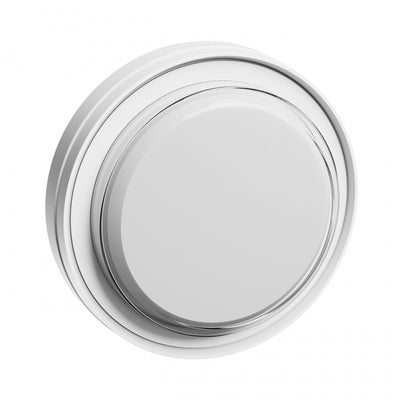
LED PASTILO 18cm
-10W-1200lm-CCT 6000K11,50
Advantages of LED Batten that Simplify Installation
Choosing LED batten offers clear advantages for both the installer and end-user. These benefits contribute to faster installation and lower long-term operational costs.
- Integrated design: The light source is built into the fixture. This means there are no separate components like starters or ballasts, significantly simplifying installation and reducing potential points of failure.
- Energy-efficient operation: LED battens consume considerably less energy than traditional fluorescent lighting. The savings on energy costs can reach up to 75%, which has a direct impact on operating expenses. For example, a 20W LED batten can replace two 30W traditional fluorescent tubes.
- Long lifespan: With an expected lifespan averaging 30,000 to 50,000 operating hours, LED battens require less frequent replacement. This minimizes maintenance frequency and associated labor costs, benefiting both the installer and the owner of the space.
- Instant full brightness without flicker: LED battens deliver immediate full brightness when switched on, without the warm-up time or flickering typical of older fluorescent tubes. This ensures stable and comfortable illumination.
- Slim and practical design: Due to their compact dimensions, LED battens are easier to integrate into various spaces—even where installation height is limited. They are typically less than 3 cm tall.
- Impact-resistant and durable: Unlike fragile glass fluorescent tubes, many LED battens are made from robust materials such as polycarbonate and aluminum, making them more resistant to impacts and vibrations.
Application Areas for Battens in Various Environments
The versatility of LED battens makes them suitable for a wide range of uses. They are functional and provide ample lighting in spaces where clear visibility is required.
| Application | Recommended Light Color (Kelvin) | Average Lumen per m² (Lux) | Common Lengths |
|---|---|---|---|
| Garage or workshop | 4000K (neutral white) or 6000K (daylight white) | 200-400 Lux | 120 cm, 150 cm |
| Warehouse or storage hall | 4000K (neutral white) or 6000K (daylight white) | 250-400 Lux | 120 cm, 150 cm |
| Basement or attic | 3000K (warm white) or 4000K (neutral white) | 150-200 Lux | 60 cm, 120 cm |
| Corridor or technical room | 3000K (warm white) or 4000K (neutral white) | 50-100 Lux | 60 cm, 120 cm |
| Office or study area | 4000K (neutral white) | 300-500 Lux | 120 cm, 150 cm |
Note: The recommended lumens per m² are guidelines. For specific projects, a detailed lighting plan may be helpful.
Installation and Wiring of LED Battens
The installation of a LED batten is straightforward, as it is a complete fixture that connects directly to mains voltage (230V). No complex wiring diagrams or external ballasts are required.
Step-by-step installation:
- Safety first: Always switch off the power to the relevant circuit before starting installation. Use a voltage tester to ensure the power is indeed off.
- Determine the mounting position: Choose the desired location on the ceiling or wall. Most batten fixtures come with mounting brackets that can be easily secured with screws and plugs.
- Wiring connection: The LED batten is equipped with a two- or three-core power cable. Connect it directly to the 230V mains supply. Use terminal blocks or WAGO wire connectors for a secure and durable connection. Ensure proper grounding if the fixture supports this. Some models offer a side or center entry for wiring, which can be convenient depending on the existing installation.
- Mount the fixture: Click or slide the batten fixture into the installed brackets. Ensure it is firmly attached.
- Test the lighting: Switch the power back on and check the functionality of the LED batten.
For situations where multiple batten fixtures are installed in-line, many models offer the option for 'daisy chaining'. In this case, only the first batten is connected directly to the mains, while subsequent fixtures receive power via an internal link. This minimizes the number of required power points and simplifies cabling for longer lighting runs.
Purchase Considerations and Specific Features
When purchasing LED battens, it is valuable to consider certain specific features that can affect both their functionality and lifespan. This helps you make an informed choice that matches the application and your expectations.
Key Technical Specifications
- IP rating (Ingress Protection): The IP rating indicates the level of protection against dust and moisture. For dry indoor areas, IP20 is sufficient, but for damp locations like basements or outdoor applications (such as a shed with an open door), higher IP ratings (for instance, IP44, IP65, or IP66) are necessary.
- CRI value (Color Rendering Index): A CRI of 80 or higher indicates good color rendering, meaning that colors under the batten's light appear true to life. This is important in areas where color perception matters, such as workshops.
- UGR value (Unified Glare Rating): The UGR value quantifies the level of glare. A low UGR (below 19) indicates minimal glare and ensures a more comfortable lighting environment, especially in spaces where people work for extended periods.
- Dimmability and sensors: Not all LED battens are dimmable. If dimming functionality is desired, make sure to choose a version that supports it. Some battens are also available with integrated motion sensors (PIR or microwave) or dusk sensors, which further increase energy savings and convenience.
- Emergency lighting: For certain applications, especially in public or commercial buildings, emergency lighting is legally required. LED battens with integrated emergency batteries are available, providing light for a period during a power outage.
By considering these aspects, you can select an LED batten that not only meets today's requirements but also offers a durable and functional solution for your future lighting projects.


